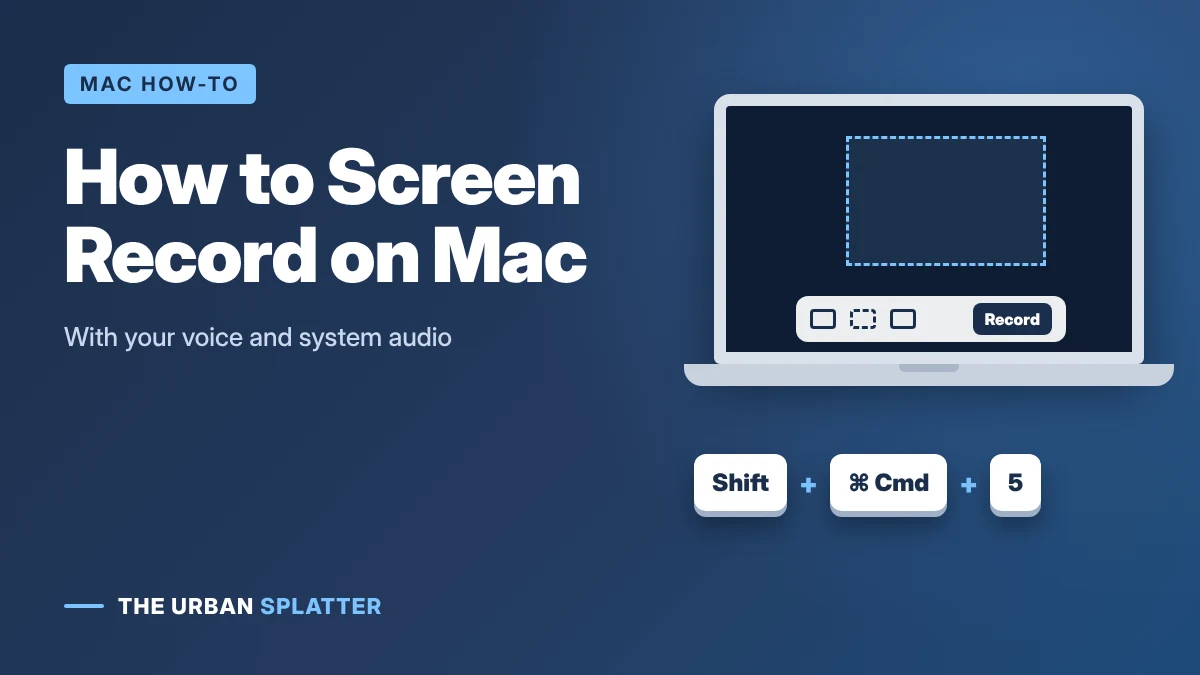
To screen record on a Mac, press Shift + Command + 5, choose Record Entire Screen or Record Selected Portion, then click Record. Stop with the button in the menu bar or Command + Control + Esc. This guide covers how to record your screen on Mac with the Screenshot toolbar and QuickTime Player, how to record with audio (your voice and your Mac’s own sound), where recordings are saved and how to fix common problems.
In this article
Mac Screen Recording Shortcuts
| Shortcut | What it does |
|---|---|
| Shift + Command + 5 | Opens the Screenshot toolbar with screenshot and screen recording options |
| Command + Control + Esc | Stops the current screen recording |
| Control + Command + N (in QuickTime) | Starts a new screen recording in QuickTime Player |
| Esc | Cancels before you start recording |
Method 1: Screenshot Toolbar (Shift + Command + 5)
This is the built-in screen recorder on every recent Mac. According to Apple Support:
- Press Shift + Command + 5. A toolbar appears at the bottom of the screen.
- Choose Record Entire Screen or Record Selected Portion. On macOS Tahoe 26 or later, you can also choose Record Selected Window.
- For a selected portion, drag the box to the area you want to record.
- Click Options to choose a microphone, set a timer, change where the file is saved or show mouse clicks.
- Click Record. For a full-screen recording, you can also click any screen if you have more than one display.
- To stop, click the Stop button in the menu bar or press Command + Control + Esc.
- A thumbnail appears in the corner. Click it to trim or share the video, or leave it and it saves automatically.
Method 2: QuickTime Player
QuickTime Player comes with every Mac and is handy if you want the video to open straight away for trimming.
- Open QuickTime Player from the Applications folder.
- Choose File > New Screen Recording, or press Control + Command + N.
- On recent versions of macOS, this opens the same Screenshot toolbar as Method 1. On older versions, a Screen Recording window appears instead.
- Click the arrow next to the record button to choose a microphone and turn on Show Mouse Clicks.
- Click Record, then click to record the whole screen or drag to select an area.
- Stop with the menu bar button or Command + Control + Esc. QuickTime opens the recording so you can play, trim (Edit > Trim) and save it.
On a Windows PC instead? See how to screen record on Windows.
How to Screen Record on Mac With Audio
Record your voice
In the Screenshot toolbar, click Options and choose a microphone under Microphone, such as MacBook Air Microphone or a headset. In QuickTime, choose it from the arrow menu next to the record button. Use headphones so your speakers do not echo into the recording.
Record your Mac’s internal sound
Recording system audio (the sound from videos, apps or calls) depends on your macOS version. Apple Support lists an Include system audio option in the Screenshot toolbar on macOS 27 Golden Gate or later. On earlier versions, the built-in recorder captures only microphone sound, so you need another tool:
- OBS Studio: the free OBS Studio recorder can capture screen and app audio on recent Macs. Add a macOS Screen Capture source and pick the app or display to include its sound.
- A virtual audio driver: free tools such as BlackHole route your Mac’s sound into a recording app. This takes some setup in Audio MIDI Setup, and you must switch your sound output back afterward.
- Video call recorders: Zoom, Teams and Google Meet have their own record buttons, which capture the call audio without extra setup.
Some apps, such as the Apple TV app and other streaming apps, block screen recording of protected video. The recording shows a black window in that case.
Where Do Mac Screen Recordings Go?
By default, screen recordings save to your Desktop with a name like “Screen Recording 2026-10-25 at 10.30.00.mov.” To change the location, press Shift + Command + 5, click Options and choose Documents, Clipboard, Mail, Messages or Other Location under Save to.
Recordings are saved as .mov files, which play in QuickTime, iMovie, Final Cut and most video players. To make a smaller MP4 for sharing, open the file in QuickTime and choose File > Export As, or use iMovie.
Mac Screen Recording Not Working? Try This
| Problem | Fix |
|---|---|
| No sound in the recording | Choose a microphone under Options; built-in recording does not include system audio before macOS 27. |
| A black screen where an app should be | The app blocks recording (common with streaming video). |
| Shift + Command + 5 does nothing | Check System Settings > Keyboard > Keyboard Shortcuts > Screenshots and make sure the shortcut is turned on. |
| Another app cannot record the screen | Allow it in System Settings > Privacy & Security > Screen & System Audio Recording, then restart the app. |
| The file is too large | Record a selected portion instead of the full screen, or export a smaller version in QuickTime. |
Frequently Asked Questions
What is the screen recording shortcut on Mac?
Shift + Command + 5 opens the screen recording toolbar. Command + Control + Esc stops the recording.
How long can a Mac screen recording be?
There is no set time limit. Recordings stop only when you stop them or the disk runs out of space, so record a selected area for long sessions to save space.
Can I record my screen and webcam together on Mac?
Yes. Open QuickTime and choose File > New Movie Recording to show your webcam, then use Shift + Command + 5 to record the screen with the webcam window visible. Apps like OBS Studio can also combine both in one video.
How do I screen record on an iPhone instead?
iPhone has its own recorder in Control Center, which works differently from the Mac.
The Quick Answer
Press Shift + Command + 5, pick what to record, choose a microphone under Options if you want sound, and click Record. For more simple tech how-tos, explore the latest articles on The Urban Splatter.